Understanding Finish Trim: Types and Styles
Finish trim is an essential element in interior design and finish carpentry, providing a polished and cohesive look to a space. Its primary purpose is to cover gaps between walls, floors, ceilings, and architectural features, while also adding aesthetic appeal. When choosing the right finish trim, homeowners and builders should be aware of the various profiles, styles, and materials available to achieve their desired visual impact. For a comprehensive selection of quality finish trim products, visit Finish trim and explore options that fit your project needs.
Common finish trim profiles and their applications
Finish trim profiles come in a variety of shapes and sizes, each serving specific purposes. Baseboards, crown moldings, casings, chair rails, and wainscoting are some of the most common types. Each profile is designed to enhance a particular architectural feature:
- Baseboards: Usually tall or wide, these trim pieces provide a transition from wall to floor, hiding gaps and imperfections. They also add a decorative touch to the room’s perimeter.
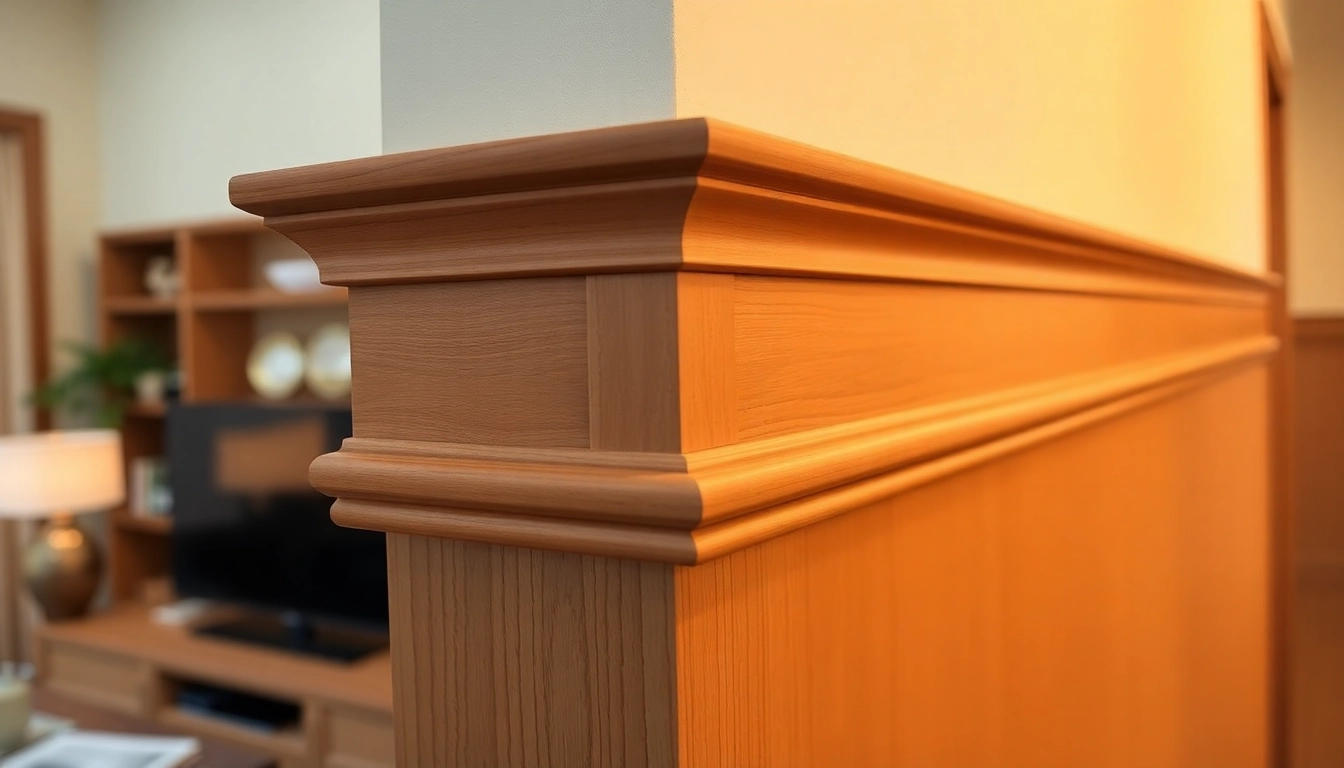
- Crown Molding: Installed at the intersection of walls and ceilings, crown molding adds elegance and a sense of height to a room. Profiles can range from simple rounded edges to highly ornate designs.
- Door Casings and Window Trims: These frames surround doors and windows, enhancing their appearance and covering any rough edges or gaps.
- Wainscoting and Chair Rails: Decorative panels and horizontal trims that protect walls from damage and add character.
Choosing the right style to match your home décor
Selecting the appropriate finish trim style depends on your home’s aesthetic and architectural style. Modern spaces often favor clean lines and minimalistic profiles, such as simple square or flat moldings. Traditional interiors may embrace more intricate, ornate designs like crown moldings with detailed patterns or elaborate baseboards. Transitional styles combine elements from both, offering versatility. For a cohesive look, consider coordinating trim styles across rooms and complementing other design features like flooring, wall colors, and furnishings.
Differences between baseboards, crown molding, and casings
While all are finish trim components, their functions and typical profiles differ:
- Baseboards: Positioned at the bottom of walls, they conceal the joint between wall and floor. They are often taller and aesthetic, with various profiles from simple to decorative.
- Crown Molding: Installed at the top of walls beneath the ceiling, adding a decorative flourish. It often features complex profiles and is associated with formal or traditional styles.
- Casings: Frame the perimeter of windows and doors, providing a finished appearance. Casings are generally narrower than baseboards and crown molding but can vary widely in style.
Preparing and Planning Your Finish Trim Installation
Measuring and selecting materials for precise fit
Accurate measurement is crucial for a professional finish. Begin by measuring the length of walls, doorways, and window openings. Use a tape measure, level, and square to ensure precision. When selecting materials, consider the room’s humidity levels—moisture-resistant MDF or PVC trim works well in bathrooms or kitchens, while natural wood adds warmth in living areas. Always buy slightly more material than calculated to account for cuts and mistakes.
Tools and techniques for accurate cutting and fitting
Quality tools are vital for precise cuts and seamless fits. Essential tools include a miter saw for angled cuts, a carpenter’s square, a chalk line, nail gun or hammer, and level. Use the miter saw with appropriate settings for crown molding angles, which often require specialized techniques like coping or compound miter cuts. Clamping the trim securely during cutting enhances accuracy. Measure twice, cut once—this old adage ensures fewer mistakes and reduces waste.
Best practices for aligning and securing finish trim
Proper alignment ensures a clean, professional appearance. Start by marking reference lines on walls with a level. When installing, use a nail gun or finishing nails to secure the trim into studs or framing. Countersink nails for a smooth surface and fill holes with wood filler or caulk. Pay attention to consistency in height and alignment, especially for baseboards and crown moldings in multiple rooms. Use shims as necessary to fill gaps or level uneven surfaces.
Techniques for a High-Quality Finish on Trim
Surface preparation: sanding, caulking, and priming
Achieving a flawless finish involves meticulous surface prep. Sand all surfaces with fine-grit sandpaper to smooth rough spots and remove splinters. Fill gaps, nail holes, and imperfections with high-quality wood filler or caulk. Applying primer improves paint adhesion, seals the surface, and enhances durability. For best results, use a high-quality primer suitable for your trim material—latex-based primers for wood or latex composites.
Paint selection and application tips for a smooth finish
The type and sheen of paint significantly impact the appearance and longevity of finish trim. Flat paints tend to hide imperfections, while semi-gloss or gloss provides a durable, easy-to-clean surface ideal for trim. Consider using high-quality, VOC-free paints like Benjamin Moore Aura, which are known for their smooth application and exceptional finish. Apply paint with a high-quality synthetic brush or roller, using long, even strokes. Multiple thin coats yield better coverage and a more professional appearance than a single thick coat.
Enhancing longevity with protective coatings and touch-ups
After painting, consider applying a clear protective topcoat or sealant for added durability, especially in high-traffic areas. Regular maintenance, such as touch-up painting and cleaning, prolongs the life of your finish trim. Keep tools and materials for easy touch-ups handy, and inspect trim periodically for chips, scratches, or damage. Prompt repairs prevent minor issues from becoming major problems.
Popular Trends and Innovations in Finish Trim
Decorative wood trim molding options
Modern interior design embraces decorative wood trims to add character and elegance. Fluted moldings, rosettes, and intricate patterns are gaining popularity for feature walls or accent areas. Pre-finished or reclaimed wood trims also contribute to sustainable and rustic aesthetics. These options are often customizable with different stains and finishes, allowing for unique, personalized spaces.
Modern installation methods and tools
Technological advancements include the use of pneumatic nailers, laser-guided layout tools, and cordless power tools to streamline installation. These innovations enhance precision, reduce installation time, and improve safety. Additionally, clips and hidden fasteners provide cleaner finishes by eliminating visible nail holes or screw heads.
How finish trim upgrades add value to your space
Upgrading or adding high-quality finish trim can dramatically elevate a room’s ambiance and perceived value. It’s often viewed as a hallmark of craftsmanship and attention to detail in home remodeling. Well-chosen trim styles allow homeowners to personalize their interiors, making them more attractive to potential buyers and increasing overall property value.
Maintenance and Troubleshooting Common Finish Trim Issues
Fixing uneven cuts and gaps
Uneven cuts or gaps often result from inaccurate measurements or tool misalignment. Use a sharp blade and verify angles with a miter saw before cutting. Small gaps can be filled with paintable caulk or wood filler for a seamless look. For large discrepancies, carefully re-cut the trim to ensure proper fit.
Tips for touch-up painting and refinishing
Keep leftover paint or stain for future touch-ups. Use a fine brush to carefully match the existing finish, blending the new coat seamlessly. Lightly sanding the area before repainting can improve adhesion and smoothness. Always clean the surface thoroughly to remove dust or grease for a cleaner finish.
Preventing damage and ensuring long-lasting appeal
To protect finish trim from scratches, dents, and moisture, avoid harsh cleaning agents; instead, use a damp cloth for cleaning. Consider applying a protective clear coat or semi-gloss paint for added resilience. Periodic inspection and prompt repairs preserve your trim’s appearance, ensuring lasting beauty and functionality.